How to recover deleted e-mails and contacts in Windows Live Mail
Free undelete tool for Windows Mail/Live messages
Mail Undelete Recovery Toolbox Free
Mail Undelete Recovery Toolbox Free can recover deleted emails in Windows Mail and Windows Live Mail software free.
How to undelete messages and contacts of Windows Live Mail
How to recover a permanently deleted messages and contacts in Windows Live Mail. Step-by-step description of mails and contacts undeleting in Windows Live Mail:
- Download, install and run Mail Undelete Recovery Toolbox Free from here: https://all-recovery-inc.com/download/MailUndeleteFreeSetup.exe
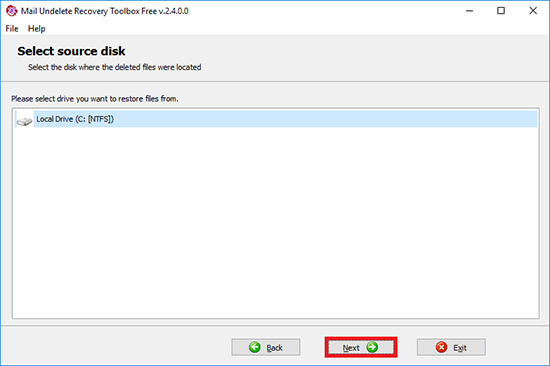
- Select the disk where deleted mails and contacts placed
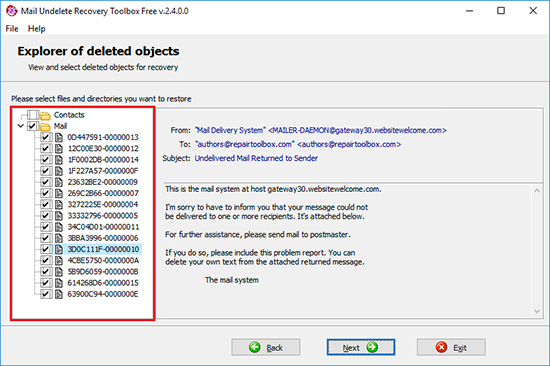
- Select the mails and contacts you want to recover
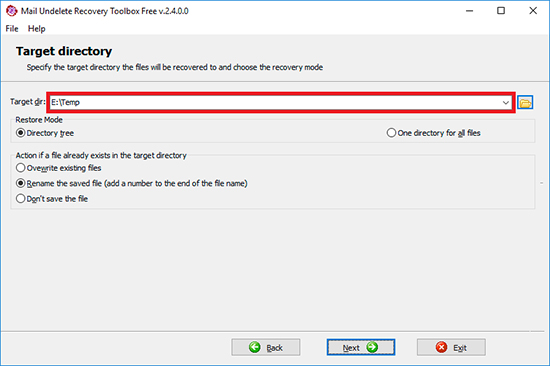
- Select of the output location, restoration mode and other recovery options
Freeware tool for undelete e-mails and contacts in Windows Live Mail
Mail Undelete Recovery Toolbox Free lets you quickly undelete e-mails and contacts at no cost if they were deleted from the Deleted folder in the e-mail client Windows Live Mail.
Windows Live Mail is the default e-mail client in Windows Vista/7.
The undelete process is divided into several steps:
- Selection of the disk where the deleted e-mails and contacts are stored
- Analysis of disk data
- Preview of recovered Live Mail e-mails and contacts
- Selection of target folder for storing recovered e-mails and contacts
If you accidentally cleaned the Deleted folder, and the e-mails and contacts were very important, the Mail Undelete Recovery Toolbox Free program can scan the entire hard drive (HDD) and try to retrieve them.
The program only works with media using the NTFS file system.
To undo the deletion of contacts and e-mails, the program must scan the entire disk and analyze the possibility of restoring the deleted data.
In some cases, recovery might not be possible for various reasons, such as the following:
- The disk partitions where the deleted file was located are now used by another file
- Data in the File Allocation Table (FAT) was extensively modified
- High-performance disks such as SSD disks were set up in the system
The advantages of the freeware tool Mail Undelete Recovery Toolbox Free:
- Simple, understandable interface
- High-speed disk management
Recovery of deleted e-mails or contacts from an NTFS disk may only require a few clicks of the mouse!
Requirements:
- Windows 98/Me/2000/XP/Vista/7/8/10/11 or Windows Server 2003/2008/2012/2016 and above
Screenshots:
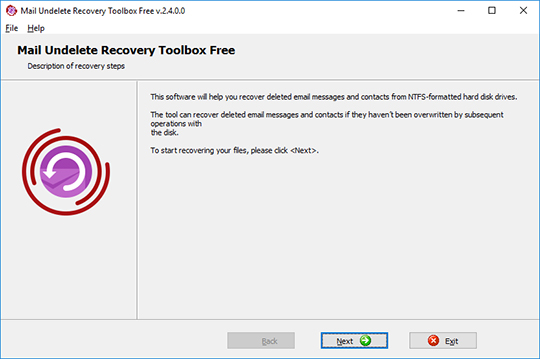
Welcome screen

Selection of the source drive your messages and/or contacts should be recovered from
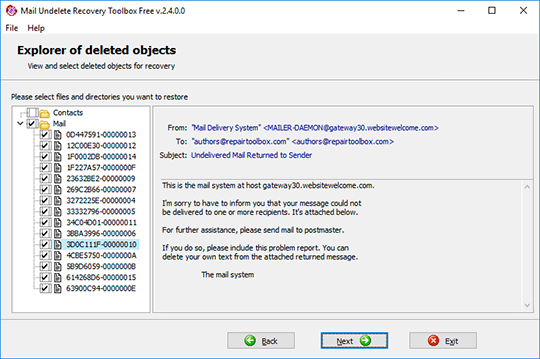
Preview of recoverable data

Selection of the output folder and recovery settings
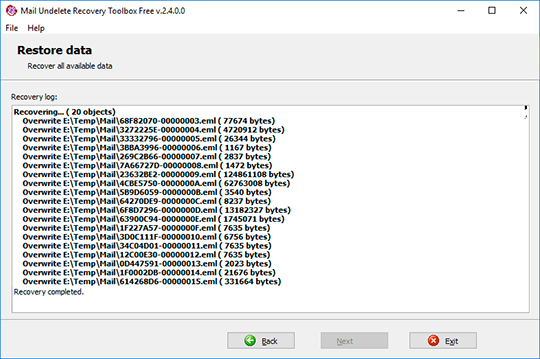
Recovery log
How it Works:
Download software from website. Download
Install the software:
- Double-click the downloaded installation file in the browser

- Select a downloaded installation file in Windows Explorer and click Enter or double click it.
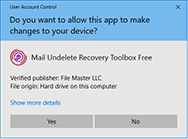
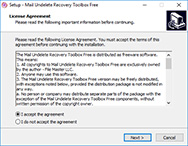
Please confirm warning message:
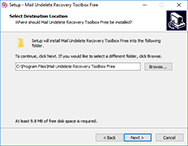
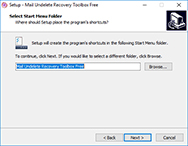
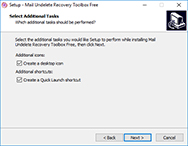
Run installation wizard:
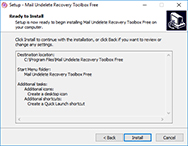
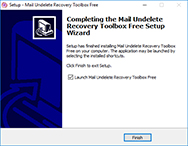
Run the program:
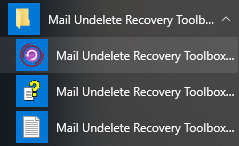
- Double click the icon on the desktop
or
- Select from the main menu: Start | Programs | Mail Undelete Recovery Toolbox Free | Mail Undelete Recovery Toolbox Free
Select the disk where deleted mails and contacts placed:
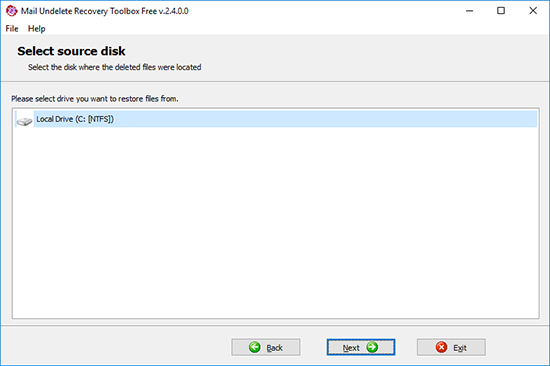
And click the Next button:
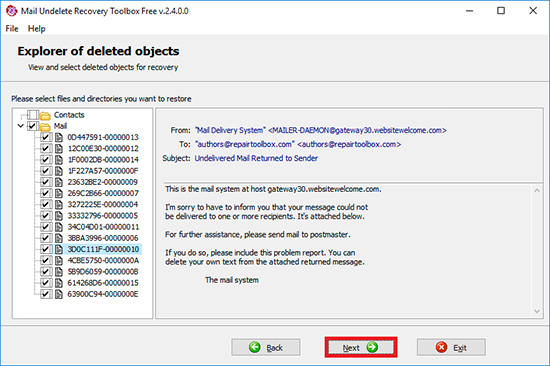
Select the mails and contacts you want to recover:
Click the Next button:
Select of the output location, restoration mode and other recovery options:
Press Next button:

Video:
Online help:
Mail Undelete Recovery Toolbox Free (Download) is an ultra-compact, easy to use, functional and reliable data recovery tool for Windows Mail/Live Mail messages and Windows Vista/7 contacts deleted by users either inadvertently or by mistake. The tool works with NTFS-formatted drives only and will restore data if they haven't been overwritten by the file system since the moment of deletion. The program is provided free of charge and does not contain any spyware, adware or any other elements not related to its core functionality and purpose.
The program has an extremely simple and intuitive interface based on a multi-step recovery wizard and requires absolutely no special knowledge or previous recovery experience. Therefore, the recovery potential of the program can be used by anyone to save time and money in a difficult situation when an important message or contact seems to be lost forever. The user only needs to follow fairly straightforward and self-explanatory instructions to get to the end of the process and recover the necessary data. The software does not modify the area of the hard drive containing the deleted data, so you can always use alternative tools if Mail Undelete Recovery Toolbox Free fails to restore your data for some reason.
Recovery of Windows Mail/Windows Live Mail messages and Windows Vista/7 contacts
This manual contains comprehensive instructions on using the program for quick and hassle-free recovery of emails and contacts. Please make sure to refer to this manual prior to contacting our support department - your question may well be answered here. If the manual was unable to solve your problem, please feel free to contact us.
The process of data recovery in Mail Undelete Recovery Toolbox Free is almost completely automated. The user needs to specify some key parameters and the program takes care of the rest. The process is comprised of the following steps:

This is the initial screen of the recovery wizard containing a welcome message and a Next button at the bottom of the window. Click this button to proceed to the next step.
2. Selection of the source drive
The second step of the wizard prompts you for the drive the program will search for deleted items on. Just select one from the list of available NTFS-formatted drives and click the Next button to start the analysis.


This stage of the data recovery process is completely automated. You will briefly see a new window with a log of the actions being performed and an elapsed time indicator. Once the program is done scanning the selected drive, it will automatically move on to the next step.
4. Preview of recoverable data
On this stage, Mail Undelete Recovery Toolbox Free displays a list of recoverable items in the form of a tree. You can expand tree nodes and navigate the folder structure to select the files you need. The pane on the right hand side displays item-specific information when an item is selected in the tree. You can select individual items or entire folders to be recovered. Once we have made your selection, you can proceed further by clicking the Next button.


5. Selection of the output folder and recovery settings
The fifth step of the data recovery wizard enables you to specify the folder to be used for storing the recovered items. This can be done in several ways:
- By typing its name and path into the input field located at the top of the program window
- Using the standard Windows open file dialog that can be opened by clicking the corresponding button to the right of the field.
- By selecting a previously used location from the dropdown list that can be opened by clicking a small button with a downward arrow in the right part of the input field.
The panels under the destination folder field give you some flexibility in terms of controlling the way your files will be recovered. If you want the program to recreate the original folder structure in the specified destination folder, choose Directory tree. If you'd like the program to simply copy the recovered files to the target folder, use the One directory for all files option.
The last three options pertain to the actions of the program in case of file name conflicts. If a file with the same name as the one being recovered already exists in the destination folder, you can configure Mail Undelete Recovery Toolbox Free to act according to one of the following scenarios:
- Overwrite existing files
- Rename the saved file (add a number to the end of the file name)
- Don't save the file
Once you have selected the necessary recovery options, just hit Next and wait for the program to do its job and proceed to the final step.
This is the final step of the wizard that allows you to view the recovery log and see what objects were recovered, what their size in bytes was and where they were copied to. At this point, you can finish working with the program by clicking the Exit button, go back any number of steps in the current recovery session or click your way through to the very first step and choose another drive for recovery.

As you can see, Mail Undelete Recovery Toolbox Free is amazingly simple and fast - and using it is a real breeze. However, don't hesitate to let us know if you have any questions or problems using the product.
Resources:
- Windows Live Mail on Wikipedia: https://en.wikipedia.org/wiki/Windows_Live_Mail